In this tutorial we are going to create a new stage. Before you proceed, you should be familiar with how the engine works (read Game Mechanics if you haven't yet).
The engine leverages RPG Maker's Map Editor, so basically we are going to create a map with some events in it.
Let's start by creating a new map in the usual way. Just keep in mind the following considerations though:
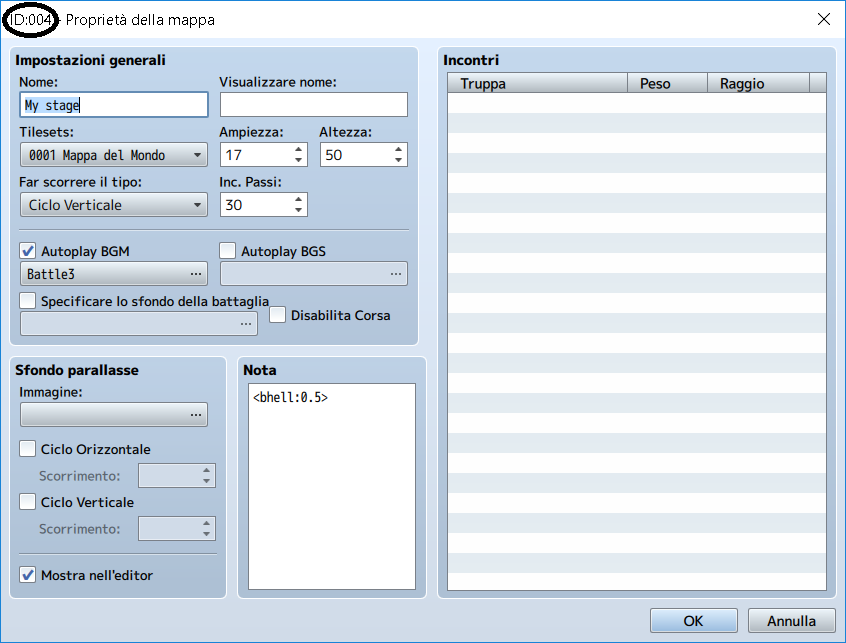
- the player will cross the map vertically, a width larger than the default (17 tiles) would be a waste,
- if you want your map to loop once the player reaches the top, don't forget to set the
Scroll Typeproperty toLoop Vertically.

Now we set our scrolling speed in the map's note (if we don't specify anything, the engine will scroll the map at a speed of 0.1):

We are done with the map's properties! Let's move on to our stage's background. The engine automatically draws the tiles we set on the map editor and uses them as background for the stage, let's draw something (please excuse my poor mapping abilities):
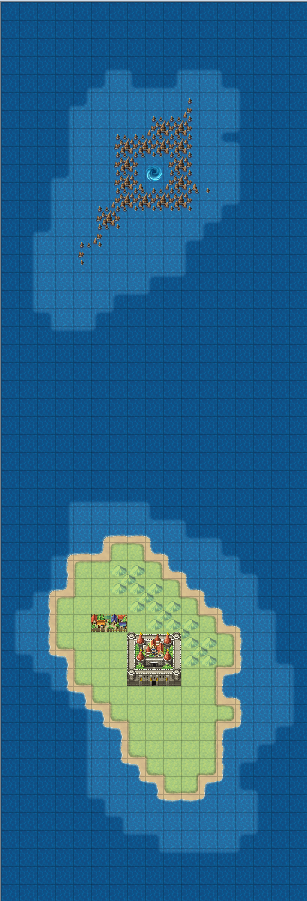
It's time to add our enemies!
We are not going to add enemies directly, instead we are going to place generators on map which will create a certain number of enemies for us, when the player reaches their position.
A generator is any event which has a note in one of the following forms:
<enemy name:number of enemies:period:sync>
<enemy name:number of enemies:period:sync:stop>
- Enemy class: the name of the enemy as we defined it in the JSON file (see Configuring the enemies and Overriding enemies' default behaviour),
- Number of enemies: how many enemies will be spawned by the generator,
- Sync: if
truethe generator should be considered a synchronising generator (see Game Mechanics), - Stop: if
truethe generator should be considered a stopping generator (if not set, it's consideredfalse).
The event's charset will determine the spawned enemies apperance.
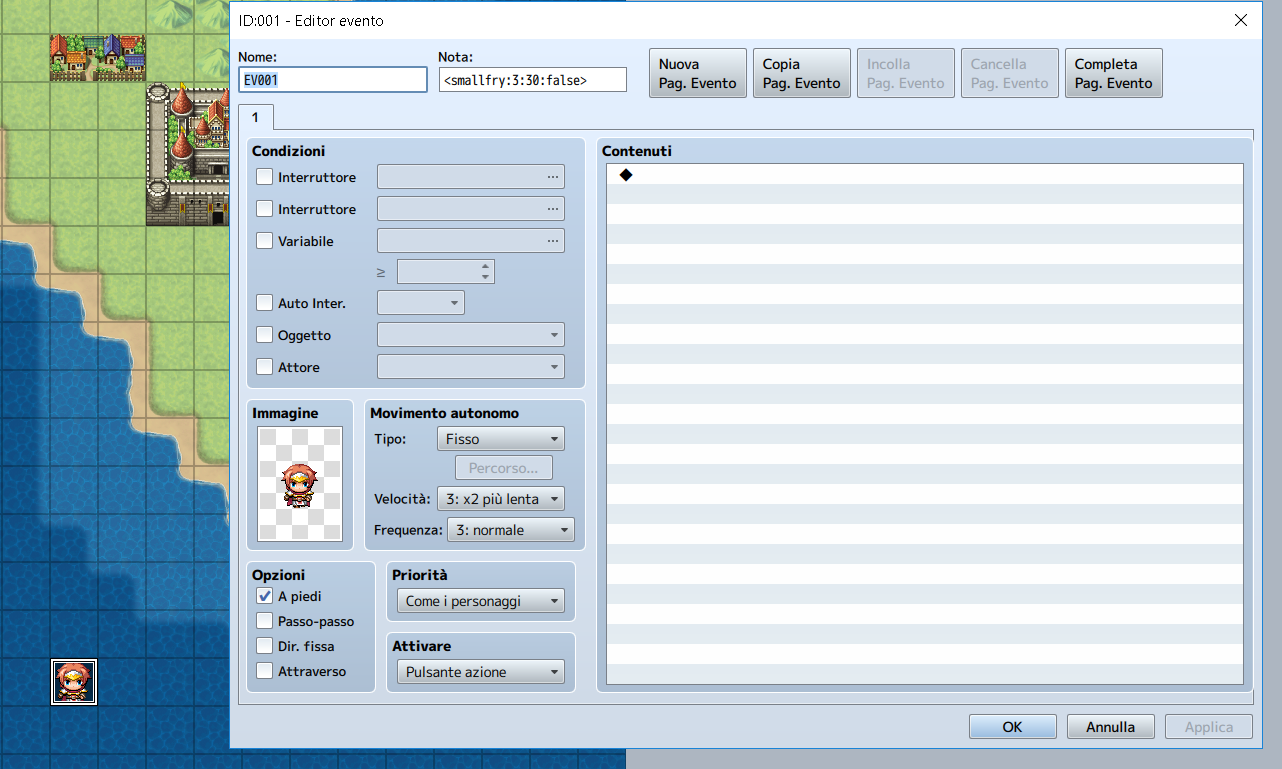
The following is a generator which will spawn three small fries, one every half second (30 frames) and which won't synchronise the stage:
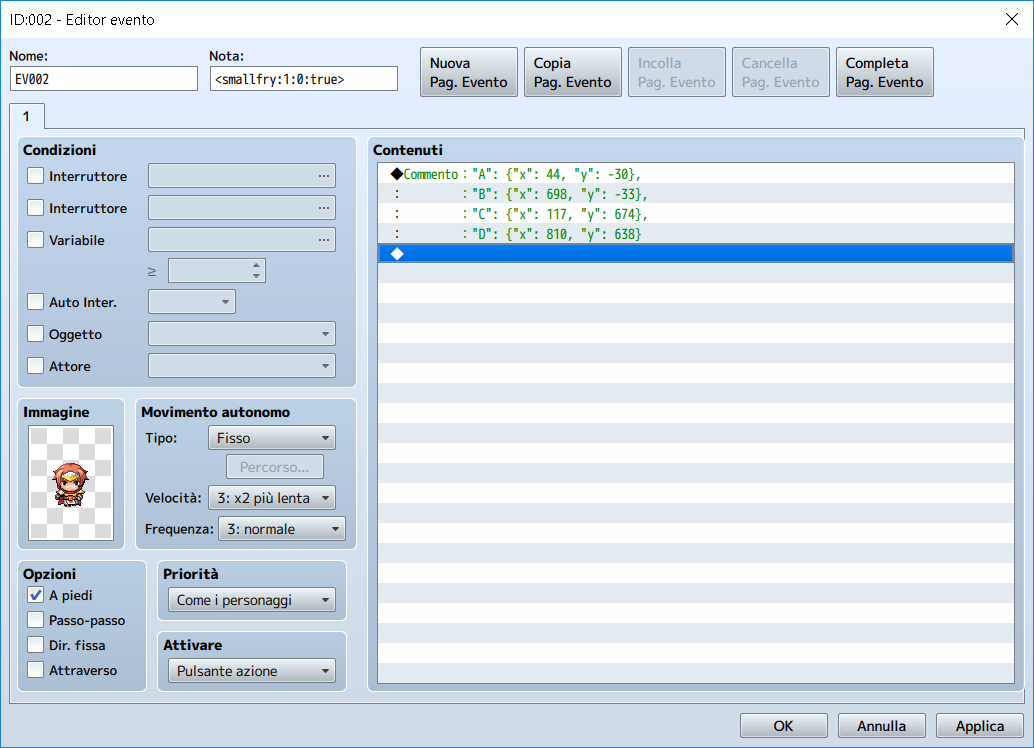
This one instead is a generator which will spawn a single small fry, will override its path's parameters (see Overriding enemies' default behaviour and Using the spline generator) and will synchronise the stage:
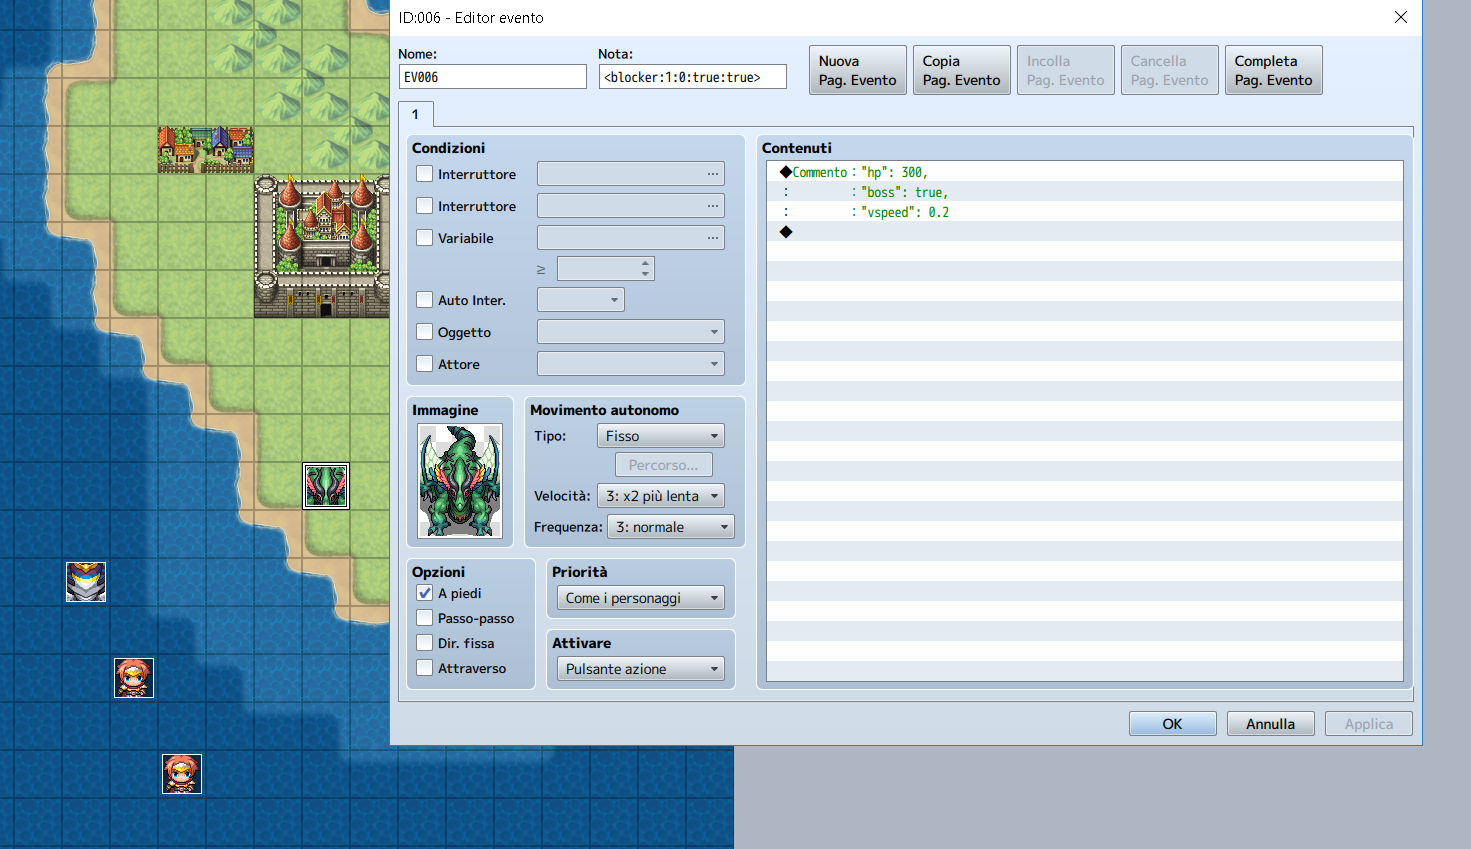
Maybe we want to add a mini boss halfway in the stage? A miniboss which stops the map from scrolling.
Let's continue with our normal enemies:
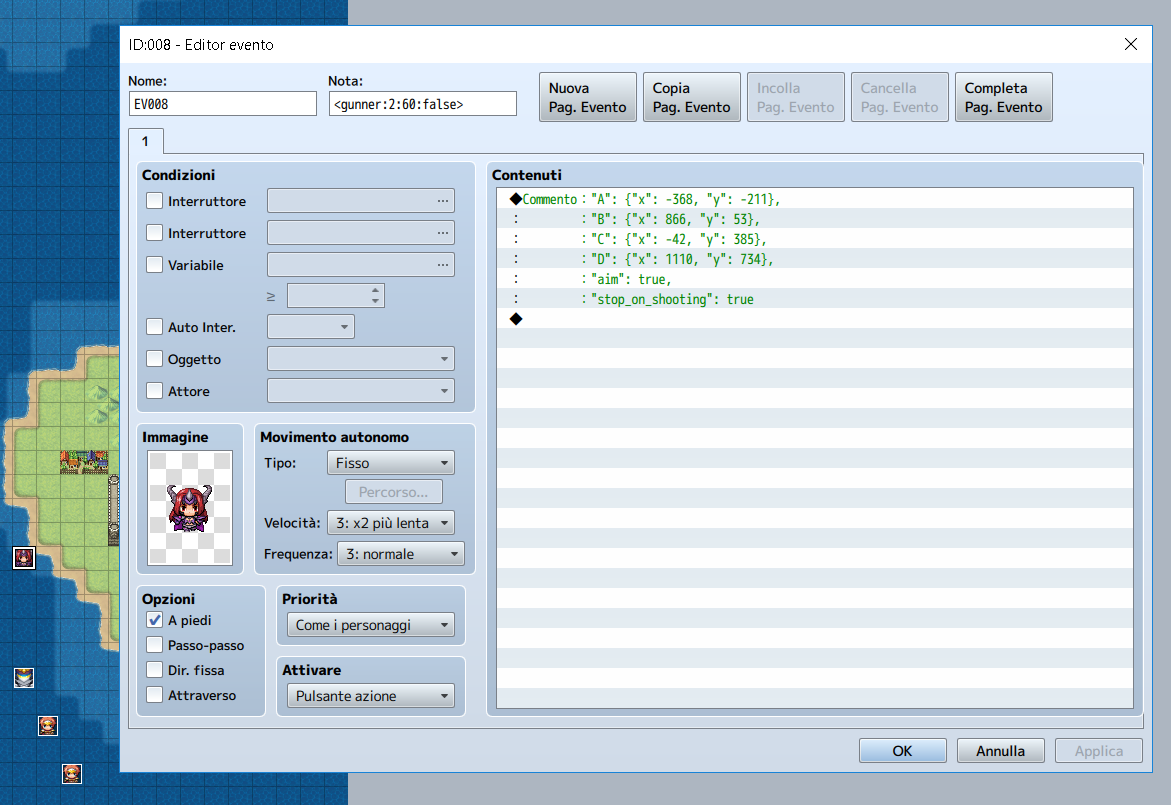
And so on until our stage is finished...
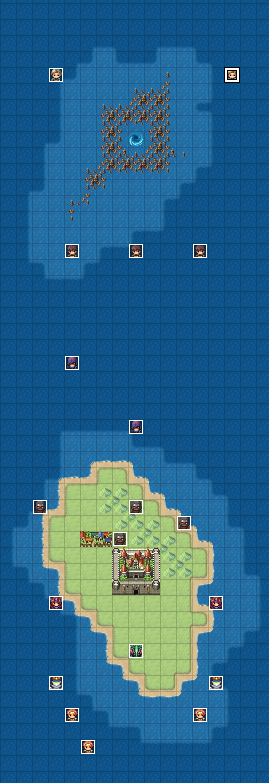
There is only one thing left to do: start our stage!
Open again the map properties and take note of the Map ID:
Now all you have to do is to call the plugin's command from a regular event on a regular map:

...And we are done!
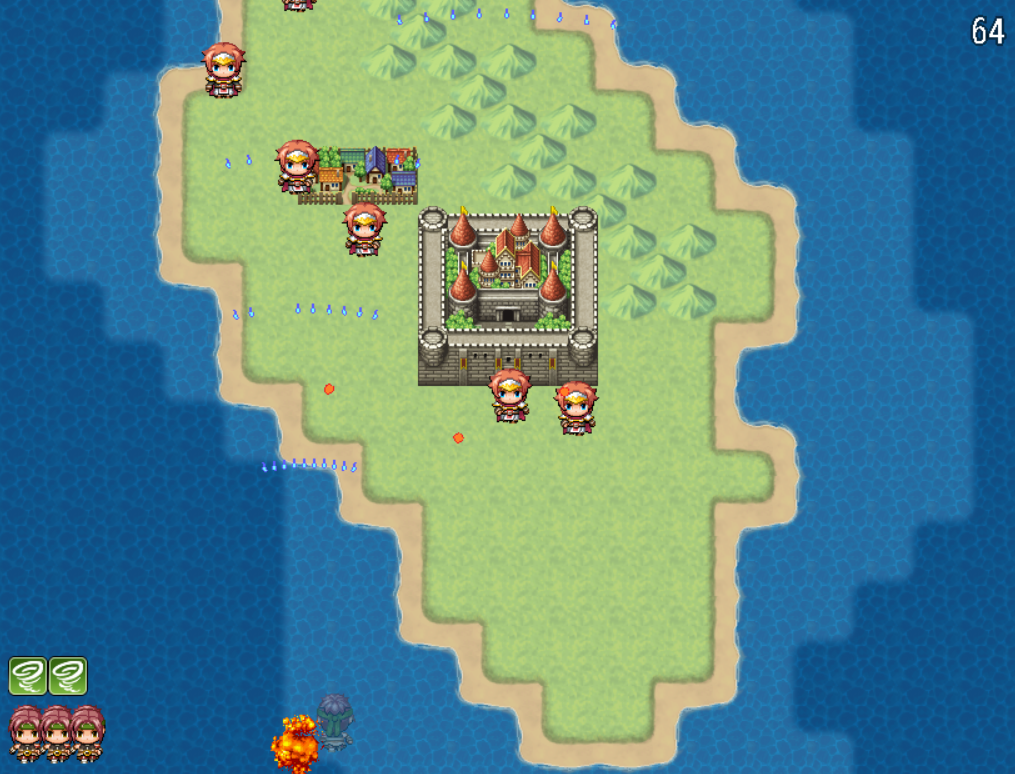
Note: Remember you can add a Show Text command to any event to display messages during the stage.